Now we can build and run our project to test this faculty record delete function. Click on the Clean and Build Main Project button to perform cleaning up and building our project. Then click on the Run button to run our project. Enter the appropriate username and password, such as jhenry and test, to finish the login process, and select the Faculty Information item from the Selection.jsp page to open the Faculty.jsp page.
To delete a faculty record, first let’s perform a query operation to retrieve and display that faculty record. Recall that in Section 8.5.2.2, when we inserted a new faculty member named Susan Bai into the Faculty Table in our sample database, we did not remove it from our database. Now we can test the delete action by deleting that faculty member from our database.
Enter a faculty name, Susan Bai, into the Faculty Name field and click on the Select button. All seven pieces of information related to that faculty member are retrieved and displayed on this page. Now click on the Delete button to try to delete this record from our Faculty Table. Immediately you can see that all TextFields become blank with null values, which means that our data delete action is successful.
To confirm this data delete action, two methods could be used. The first is to use the Select button in the Faculty.jsp page to try to retrieve this deleted record from the Faculty Table. To do that, enter the deleted faculty name, Susan Bai, in the Faculty Name field and click on the Select button. You can see that all seven fields are displayed with nulls, as shown in Figure 8.96, which means that the faculty member Susan Bai has been deleted from the Faculty Table per-manently. Now click on the Back and Exit buttons to terminate our project.
The second way to confirm this data delete action is to open the Faculty Table. Perform the following operations to open the Faculty Table to check this data delete action:
1) In the NetBeans IDE 12.4, open the Services window by clicking on it from the top and expand the Databases node to find the URL folder, jdbc:oracle:thin:@ localhost:1521:XE.
2) Right-click on that URL; select the Connect item; and enter the password, oracle _ 18c, to connect to our sample database.
3) Then expand our database, CSE _ DEPT, and Tables. Right-click on the Faculty Table and select the View Data item to open this Table.
You can see that the faculty record with the name of Susan Bai has been deleted. Our data delete action using the JavaServer Pages and Java bean is successful!
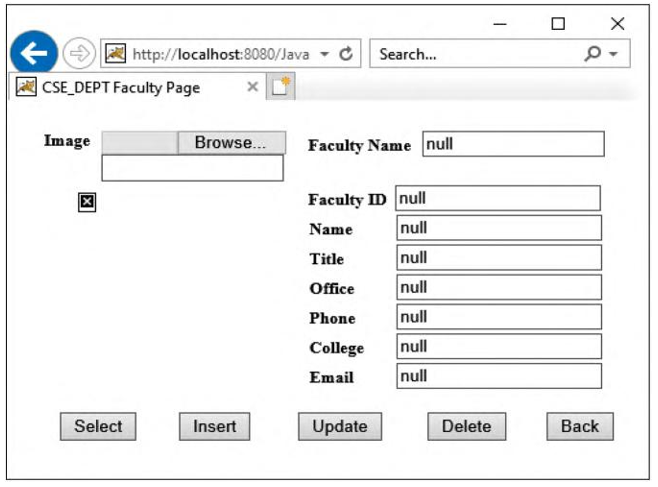
FIGURE 8.96 The confirmation of the faculty data deletion action.
But the story is not complete. The delete process would become very complicated and many more records both in the parent and the child Tables would be deleted if the deleted faculty member were an original one who was in the database when the database is generated, not one inserted into our database later.
The reason for that is when we delete an original faculty member, such as Ying Bai, from the Faculty Table that is a parent Table, not only is that faculty record in the Faculty Table deleted, but all records related to that faculty member in all child Tables, such as LogIn, Course and StudentCourse, are also deleted. Because a cascading delete relationship was setup between the parent and child Tables when we built this database in Chapter 2, the faculty login record in the LogIn Table and all courses taught by that faculty member in the Course Table will be deleted when the faculty member is deleted from the Faculty Table. Also, because the Course Table is a parent Table relative to the StudentCourse Table, all courses taken by students and taught by the deleted faculty member will also be deleted from the StudentCourse Table.